Your Guide to Effortless At-Home Manicures
Fancy nails don’t have to come with a salon bill.
With a few simple tools and a bit of practice, it’s possible to get that polished, put-together look at home.
Whether it’s for a quiet moment of care or just to stretch the time between appointments, here’s how to make your DIY manicure feel just as good as the real thing.
Prep Like a Pro
Start by soaking your hands in warm water for a few minutes. This softens the cuticles and makes them easier to work with.
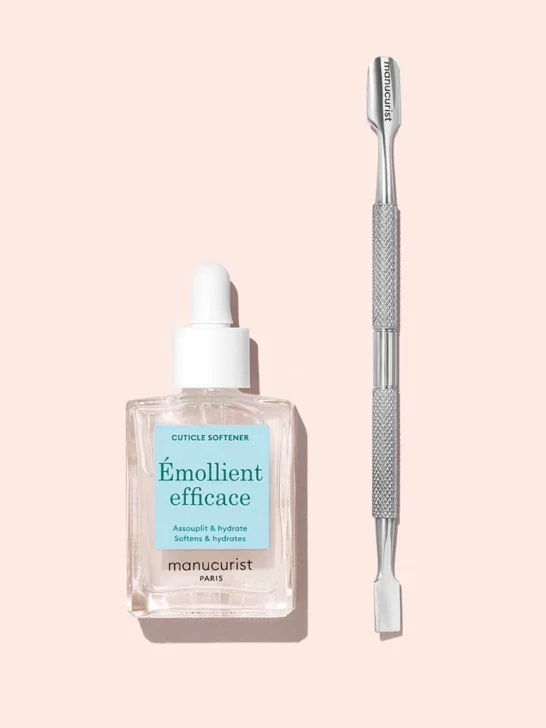
Next, gently push back those cuticles with a cuticle stick. Be careful not to cut them – they’re there to protect your nails from bacteria.
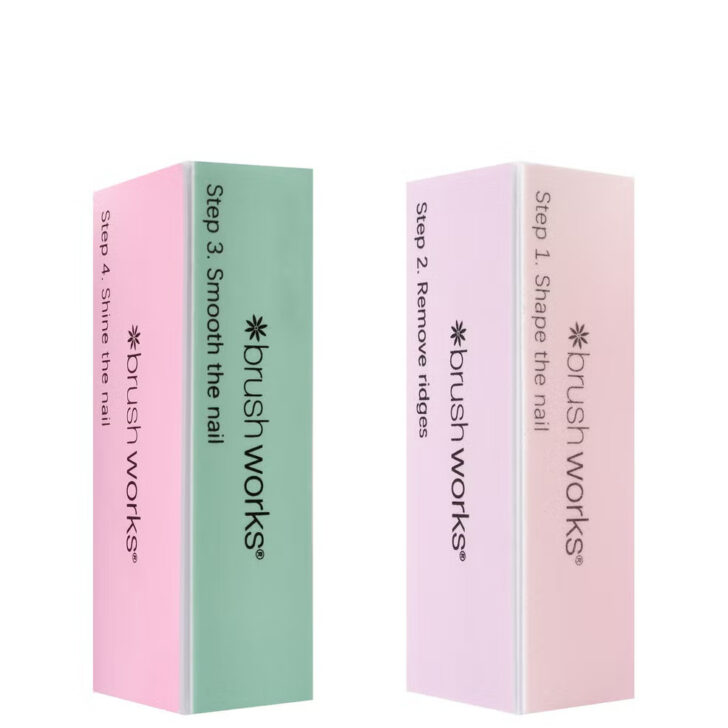
Now, here’s where many of us go wrong: buffing. Lightly buff the nail surface with a soft buffer.
This helps the polish stick better, but don’t go overboard. Over-buffing can weaken your nails.
Finally, swipe each nail with nail polish remover before you start.
It gets rid of any oils that might mess with your polish. Trust us, this extra step makes a world of difference.
Get the Shape Right
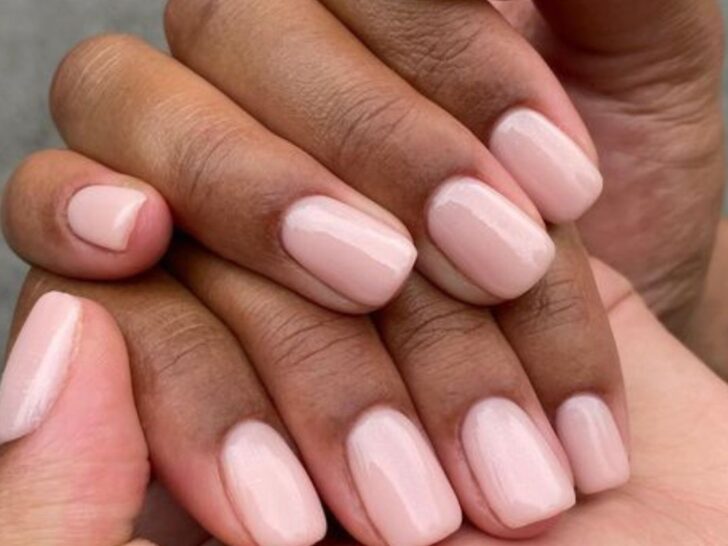
Your nail shape can change the whole feel of your manicure. If you’re new to at-home nails, start with a soft square or gentle oval, both are flattering and easy to maintain.
Use a glass file for a smooth finish that’s kinder to your nails. And always file in one direction.
That back-and-forth motion? It weakens the nail and leads to splitting.
One more tip: take a look at the shape of your cuticles. Matching your nail shape to that natural curve makes the end result look more polished, even if you’re keeping things simple.
Don’t Skip the Base Coat
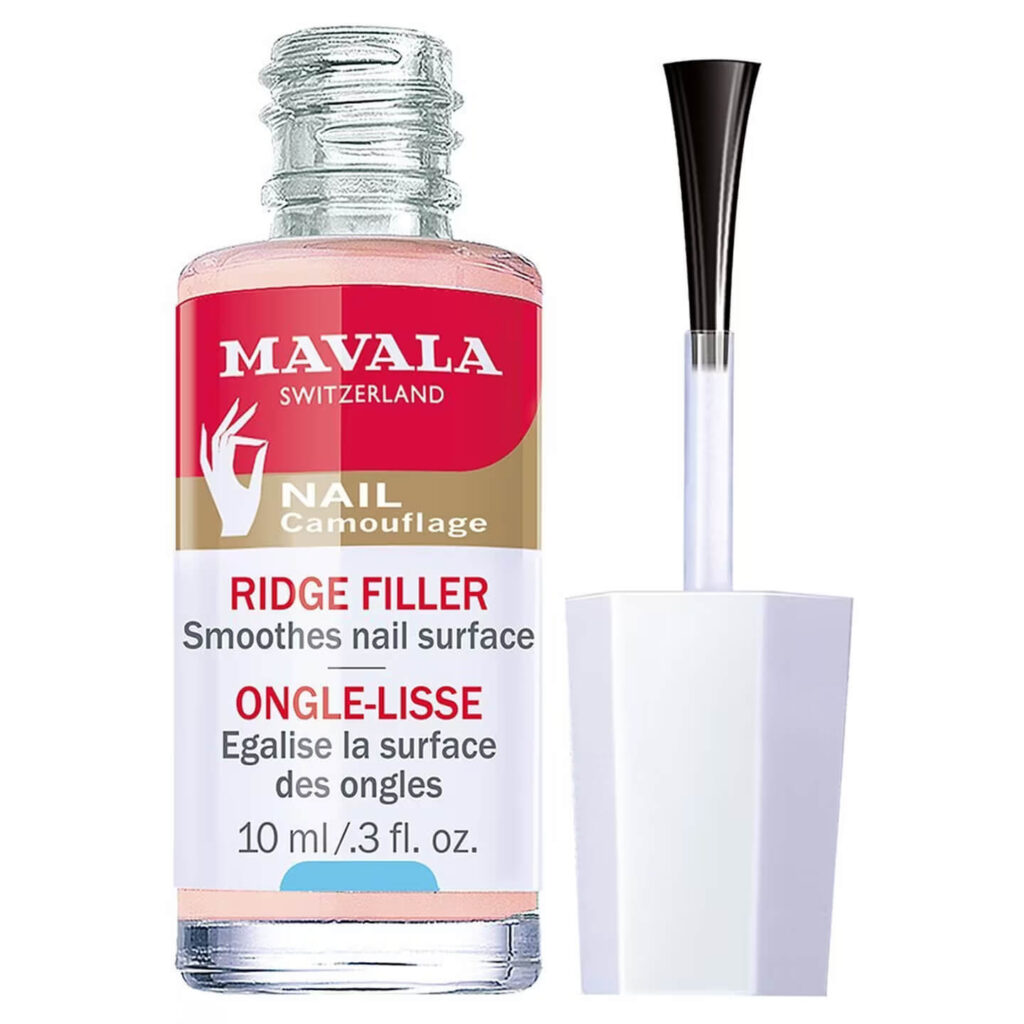
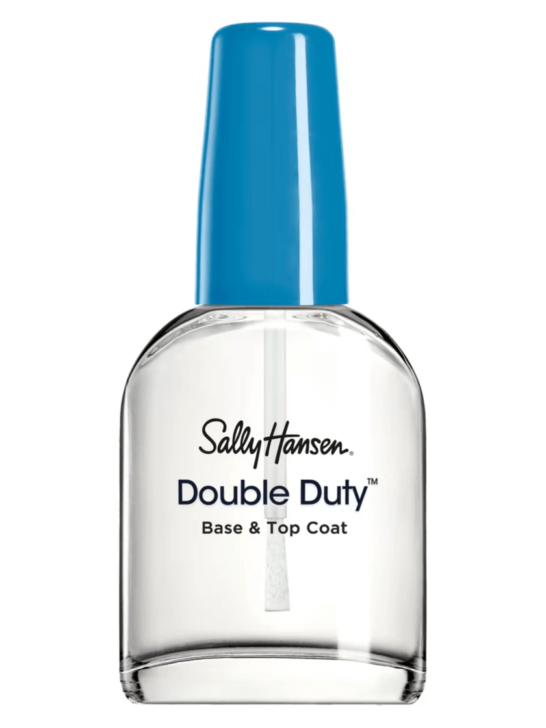
Think of base coat as the quiet step that makes everything else work better. It smooths the surface of your nails, helps polish last longer, and protects against staining, especially with darker shades.
If your nails are feeling a bit weak or prone to breaking, choose a base coat with strengthening ingredients. It’s a small step that makes a big difference in how your manicure looks and lasts.
A Smoother Way to Paint
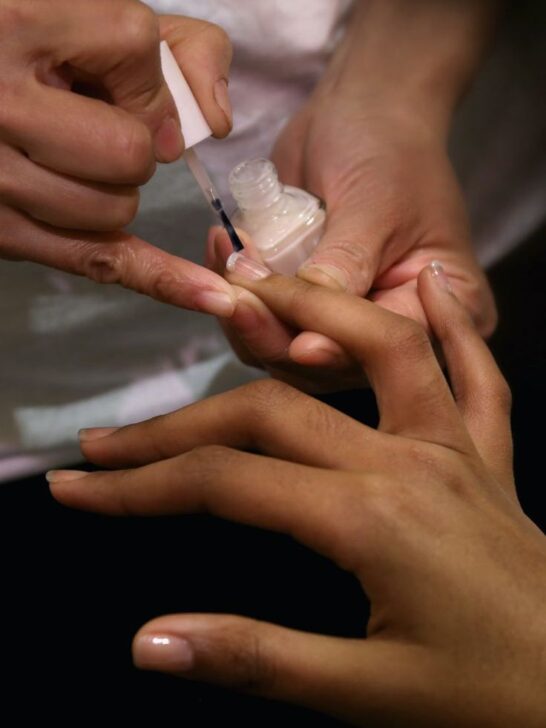
For an even, tidy application, start with one brushstroke down the centre of the nail, then one on each side. This simple method helps polish go on cleanly without streaks.
Seal the edge of your nail with a quick swipe across the tip, this helps prevent chips and keeps your manicure looking fresh for longer.
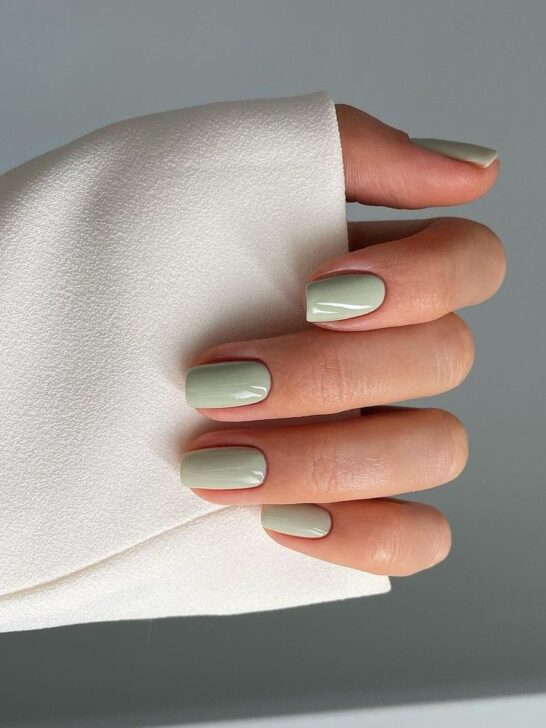
Give each coat a couple of minutes to dry before adding the next. Rushing can lead to smudges and uneven texture.
One more thing: if you tend to get bubbles in your polish, try gently rolling the bottle between your palms instead of shaking it. It keeps the polish smooth and avoids trapped air.
The Final Step That Makes It Last
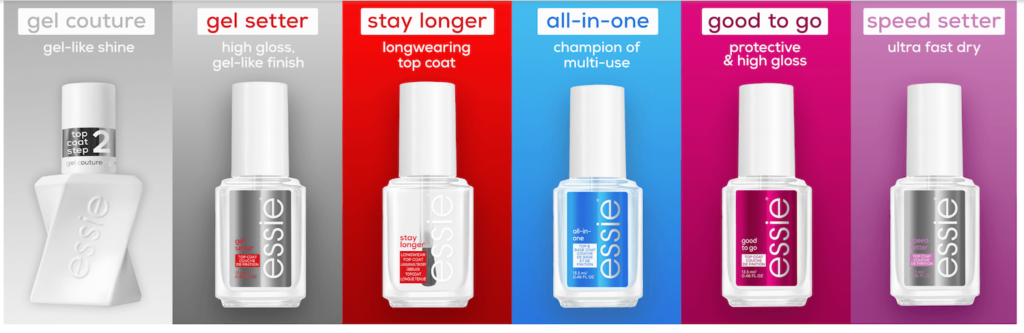
A top coat isn’t just about shine, it’s what keeps your colour in place and helps prevent chips. Think of it as the part that makes all the effort worth it.
To keep things looking fresh, try reapplying your top coat every couple of days. It restores the finish and gives your manicure a little more staying power.
Hydration Matters More Than You Think
Brittle, dry nails? They’re more likely to split, snag, or chip, ruining all that effort. A good hand cream isn’t just a nice-to-have; it’s essential.
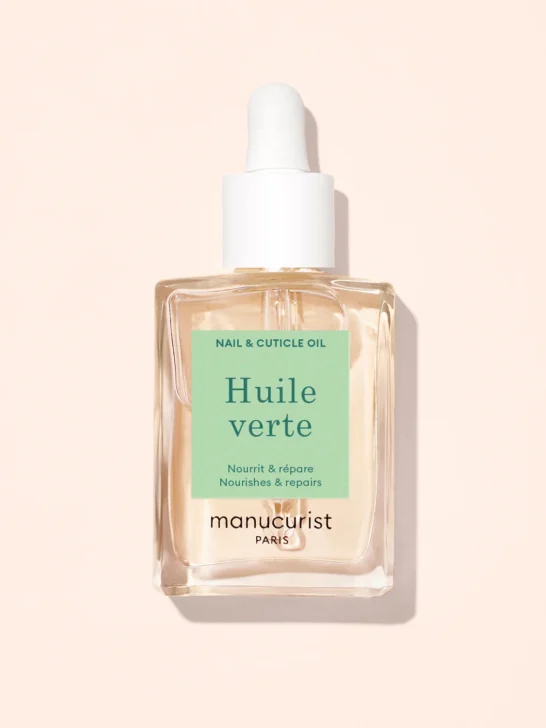
Look for ingredients like shea butter, jojoba oil, or vitamin E. And don’t forget your cuticles. They protect new nail growth, so give them a little attention.
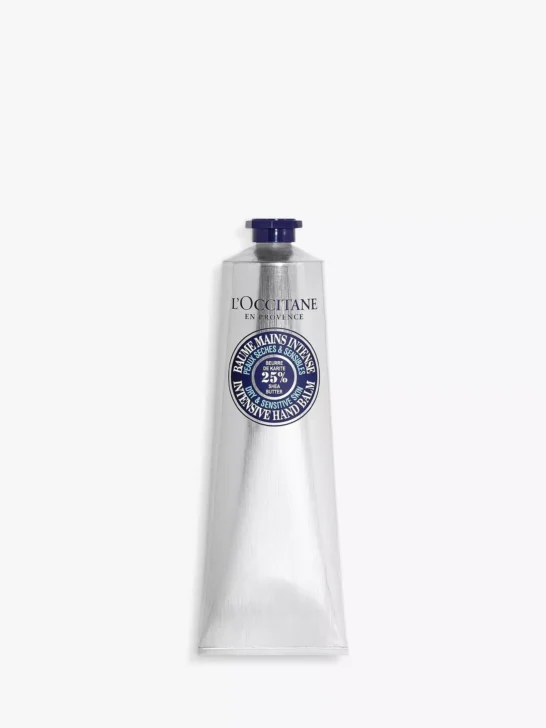
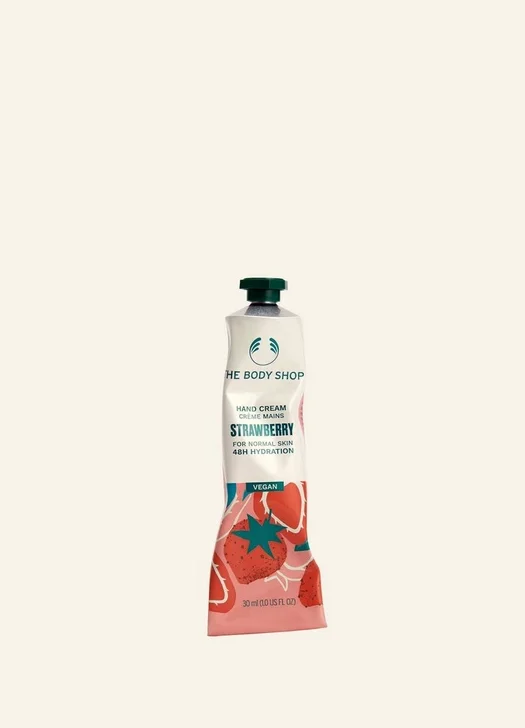
A drop of cuticle oil before bed can make a real difference.
Healthy, hydrated hands don’t just look better, they help your manicure last longer too..
Colour and Mood: More Connected Than You Think
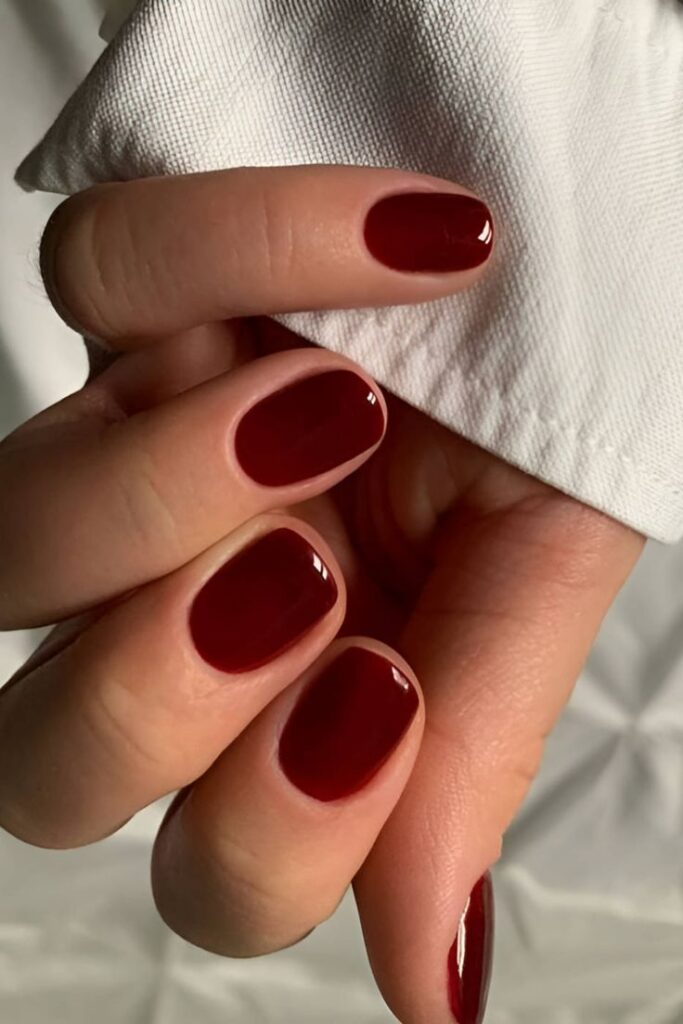
The shade you choose isn’t just about style, it can shift how you feel. Deep reds bring a little extra confidence, perfect for days when you need to feel steady and sure.
Pinks have a calming effect, ideal for stressful weeks.
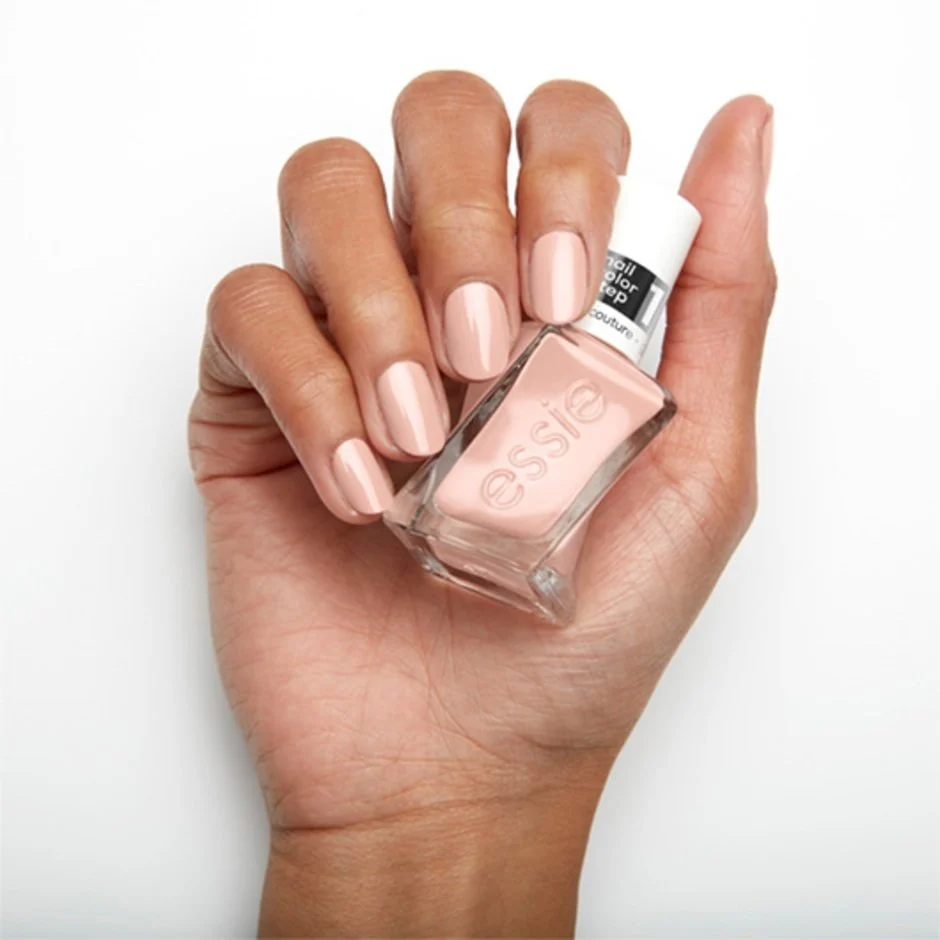
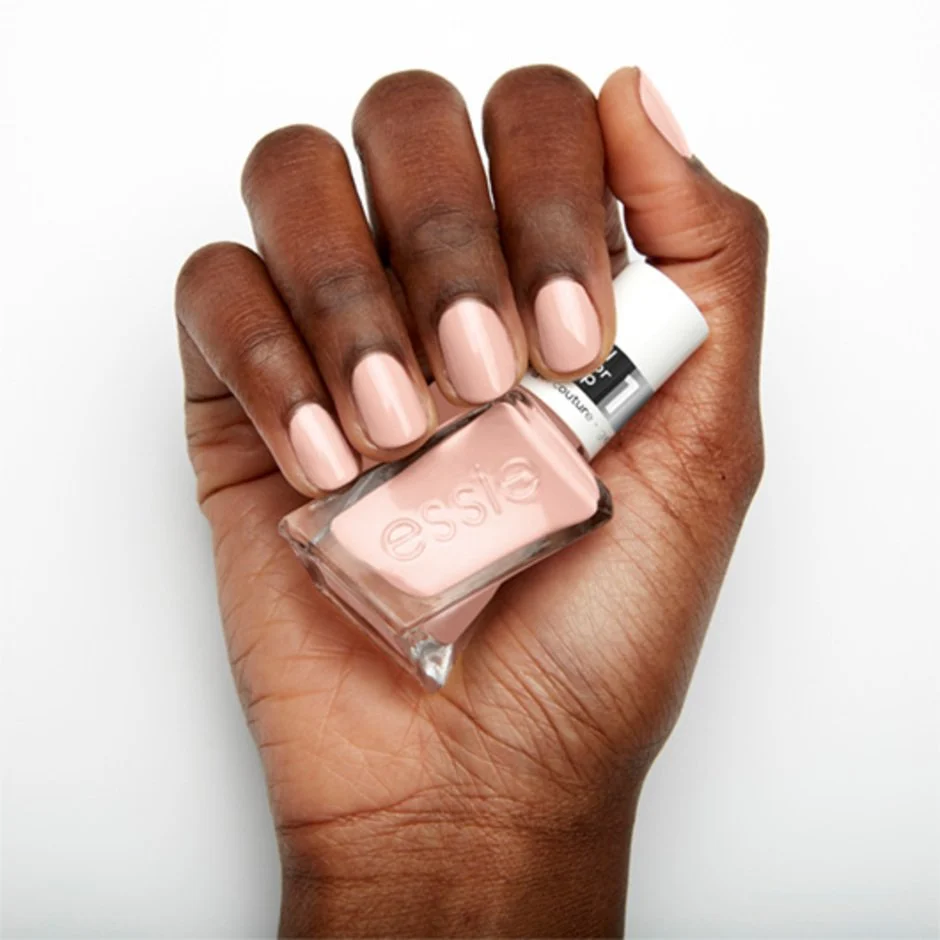
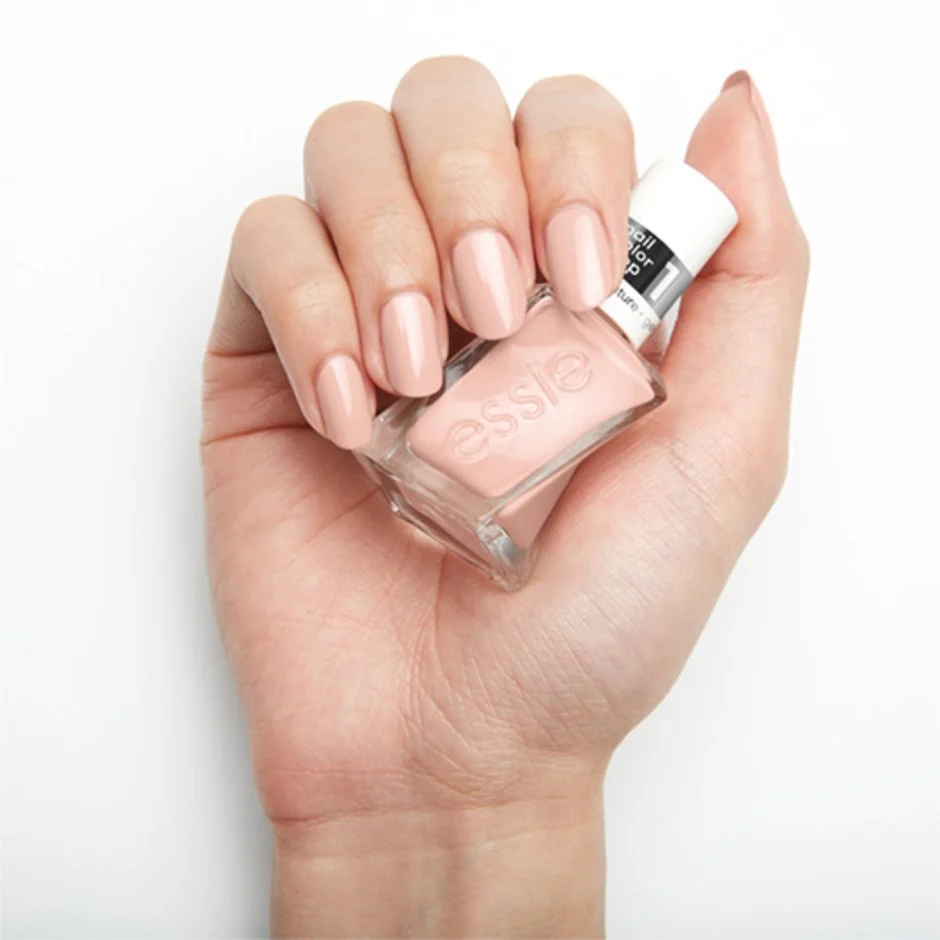
Soft blues feel cool and collected, while classic nudes or pastels add polish without drawing too much attention. They’re effortless, and they go with everything.
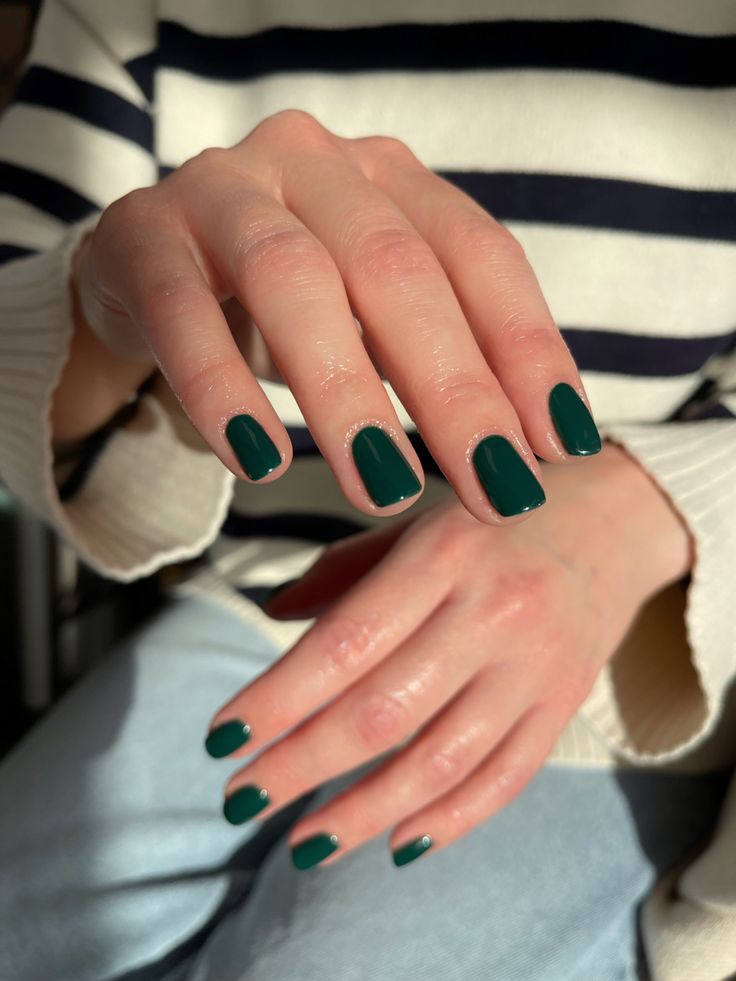
Feeling bold? Try a rich burgundy or deep green for elegant and striking look that doesn’t shout for attention.
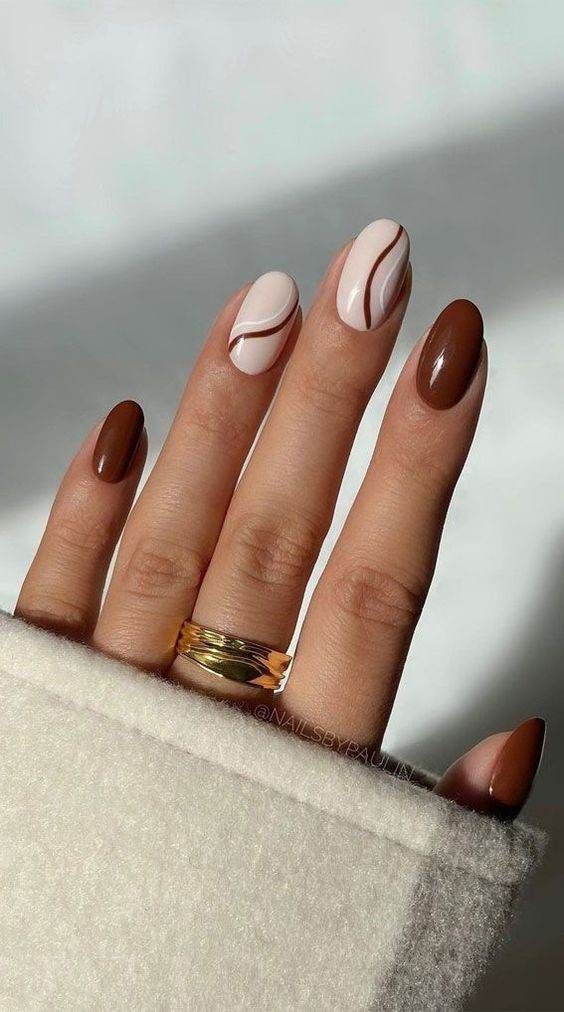
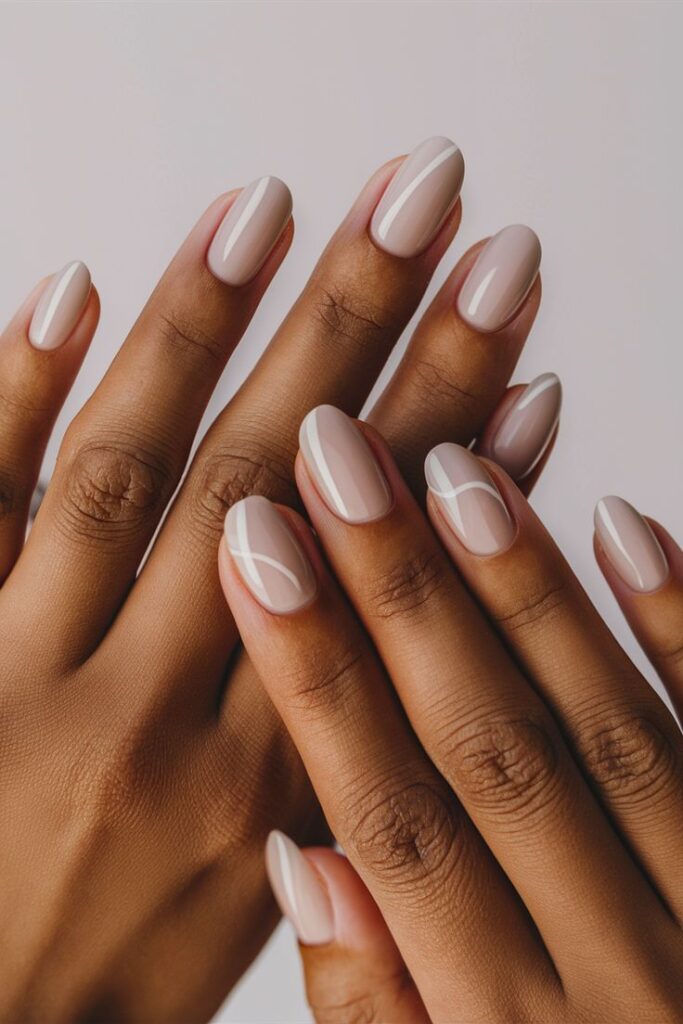
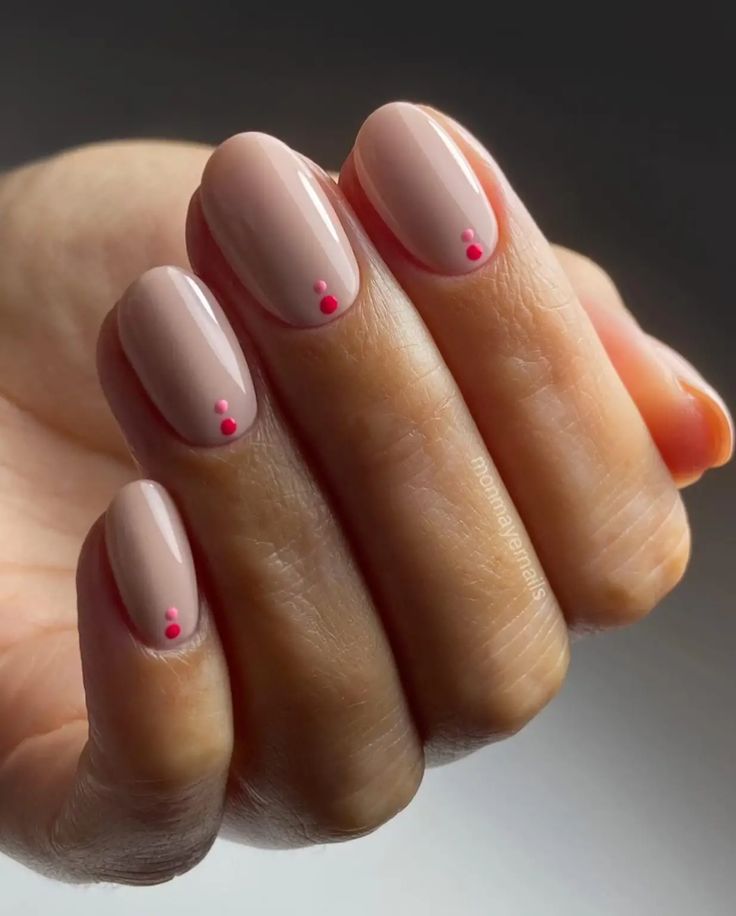
Simple Nail Art, No Stress Required
You don’t need a steady hand or fancy tools to try a little nail art. Start with something small, a few soft dots using the tip of a bobby pin.
For clean stripes, washi tape does the job. Place it gently, paint over, peel off.
Or try a tonal gradient: five nails, five shades from the same colour family. It’s a subtle way to do something different.
Want to add shimmer? A makeup sponge makes applying glitter easier and more even, especially for a quiet ombré finish.
Gentle Fixes for Nail Mishaps
Smudged a nail? It happens. Lightly tap the spot with a clean finger, then smooth over it with a thin coat of polish. Most of the time, no one will notice.
For small chips, skip the urge to layer it on thick. Lightly buff the edge, then blend a single coat into the existing colour. It’ll hold better and look cleaner.
And if your nails look a little stained after removing a darker shade, mix a bit of baking soda with a squeeze of lemon. Gently massage it over your nails for a natural refresh.
Make It Last: Aftercare That Actually Helps
Your manicure doesn’t end when the polish dries. If you’re doing the washing up or tackling chores, wear gloves. Water and cleaning products can ruin all your hard work.
Moisturise your hands often, but skip the nails themselves, oil-based creams can wear down polish faster.
Keep your polish close by for touch-ups. A quick fix here and there can help your manicure last days longer.
A Little Practice, A Lot of Payoff
Don’t worry if your first few tries feel clumsy. This isn’t about perfection. It’s about finding something small that makes you feel good.
You might stick to clear polish during a busy week or play with colour on a quiet Sunday.
There’s no right way, just what feels right for you.